DIY PILLOWCASE
July 3rd, 2020
Words & Photos by Becky Goddard
As time spent at home continues, I, like many others, have been getting sick of seeing the same things around my home (not that a faux velvet cushion cover from IKEA isn’t exciting). My small world needed a revamp. Given current events and in attempt to save money, I decided to create something new on a budget. My best friend is a print designer and she very kindly gave me some of her printed fabric to create a cushion cover out of. The bright printed cushion is now a favourite of my lockdown creations and I'm so happy to have a new pretty prop to put my laptop on while I binge TV (currently "Buffy The Vampire Slayer") or just to admire while I put off getting out of bed.

Supplies:
- A cushion pad (I a used 40 x 40cm feather pad, easily found on eBay)
- Zip
- Thread
- Sewing Machine (with a zipper foot attachment)
- Fabric scissors
- Pins
- Fabric (for front and back) measured and cut with a 1.5cm seam allowance, to allow for French seams
- Tape Measure
Steps:
1. Create a seam of 1cm on the two square pieces of fabric where you want the zip opening to be.
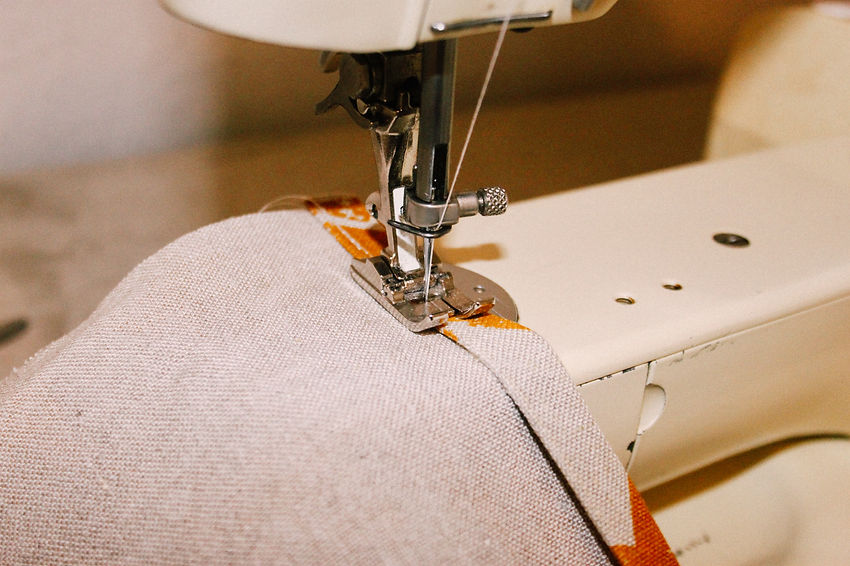
2. Place the zip face down and pin in place on the right side of the fabric where you want the opening to be. Stitch, using the zipper foot, as close to the zip teeth as possible. When you reach the zipper pull, stop stitching and zip it up the top, and continuing stitching to the end of the zip.


3. Repeat this step on the backing fabric.
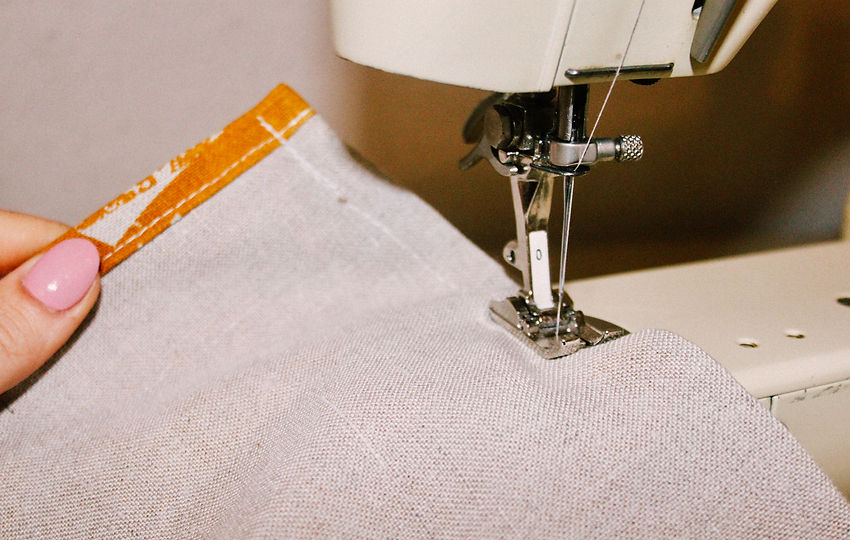
4. Now that the zip is attached, we move on to the side seams of the cover. Turn the fabric so it is facing the right side. Now stitch along with a 0.5cm seam allowance and then trip half of the excess fabric as shown below.

5. Using an iron, press open the seam so that it is flat. Now turning the fabric to the inside, pin and top stitch down with a 1cm seam allowance. Now you have your first French seam!

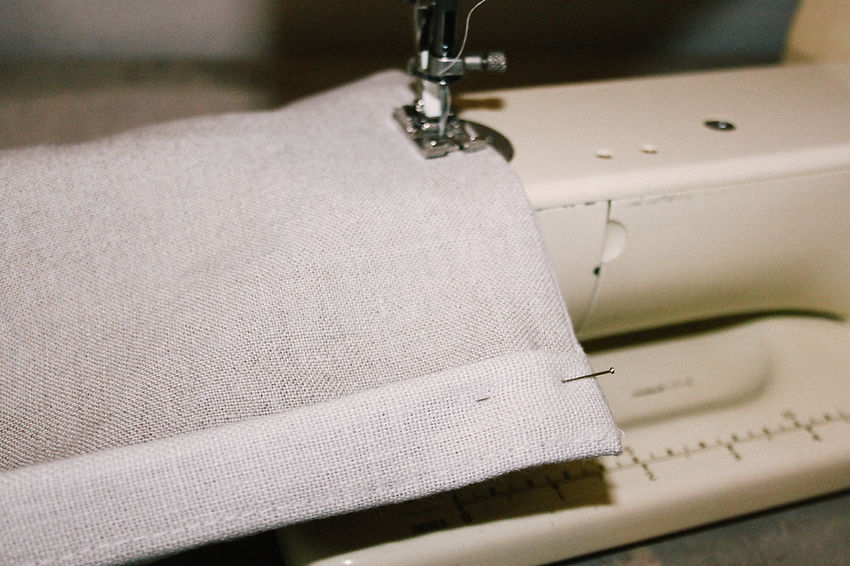
6. Now turning the fabric to the inside, pin and top stitch down with a 1cm S/A. Now you have the first French seam!
7. Repeat these steps on the parallel side of the fabric. Next is the bottom seam to close the cushion cover. It is important at this stage to make sure that the zip is open so that the cushion can be turned to the right side afterwards. So repeat the steps once again, only this time the seams either side will be stitched and finished neatly into this one.
8. The final step for completing the cushion cover is closing the gaps either side of the zip. Stitch with a 1cm S/A and go just past the point of the original stitching holding the zip in order to hide the trim of the zipper.

9. Finally, turn the cushion cover the right way round, and using a pencil/ ruler/ scissors, push the corners so they are pointy and iron flat.

9. Finally, turn the cushion cover the right way round, and using a pencil/ ruler/ scissors, push the corners so they are pointy and iron flat.

Becky Goddard is is a fashion designer graduate from Surrey. Since graduating, she has been a fashion intern in London alongside making accessories and garments. You can find her work @rebecca__goddard
