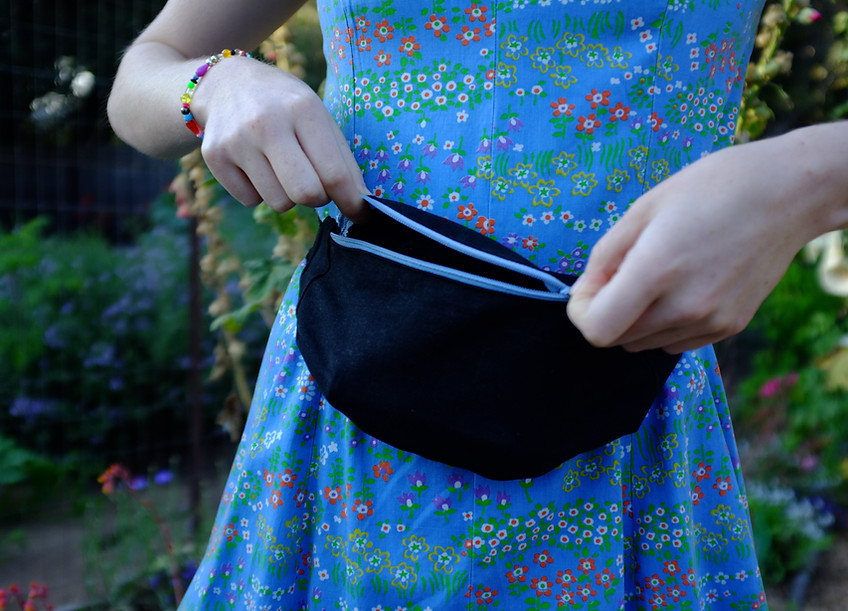
DIY: FANNY PACK
July 25th, 2020
by Nicolette McManus
I’m sure many of you share my desire to keep your hands free during quarantine walks or protests, while staying prepared! What a time to let the fanny pack shine through in all its beautiful, practical glory. Here's a guide on how to make your own from the comforts of your own home.

Supplies:
Paper
Pencil
Ruler
Pen/Chalk
Fabric (I’m using an old pair of jeans)
Zipper
Scissors
Pins
Thread
Sewing Machine, though if you'll be sewing by hand I recommend a thin fabric. This will be a more ‘relaxed’ fanny pack but will put less strain on your hands when punching the needle through each time.
Steps:
1. I made a pattern for the fanny pack on paper first, to make mistakes on paper rather than my limited fabric. I folded paper in half hamburger style and went to town with measuring each piece, outlined below. Download and print my pattern template here, in order to measure out your own pattern with the measurements provided.

2. First, iron your fabric to prevent any wrinkle messes. Then, outline each pattern paper piece on the fabric with pen/chalk. Going forward, use this chalk line to match up and sew your pieces together.
3. Cut out each piece with ~1/4 inch seam allowance.

4. Time to sew the top and front piece to the zipper. This is a tricky step: Make sure the outside of the zipper will coordinate with the outside face of your fabric! To do this, place your zipper face up on the table. Then, take the inside top line of your front piece and pin it upside-down along the bottom edge of the zipper. To create a tucked seam, we need to start with the piece upside-down. Once the top is stitched on, fold the top piece over itself so that it is right-side-out and sew again. Yay! Similarly, for the top piece, take the inside rounded line and pin to the top edge of the zipper. Once sewn together, fold the fabric over again to create its tucked seam and sew a second time. Adding the top piece will give the fanny pack its 3D shape.
Front:


Back:


5. Now, we will add the tabs on either end. Align the outside faces of the fabric to face each other, pin along chalk marks, sew, fold tab over itself, and sew again.


6. This part was the trickiest for me. First, turn the pack around so you are looking looking at the inside with the chalk/pen markings. Then, unzip your zipper. Next, line up your back fabric piece with the front with the chalk/pen side visible. Next, go around the edges pinning along the chalk lines as best you are able. There will probably be a little extra fabric on the back piece that won’t match up 100% with the front piece. If this happens to you then cut off the extra and just move along because you’re almost done and doing such a fabulous job! Once pinned, sew along the top and bottom edges only to leave the two tab ends open to insert straps. Once the top and bottom edges are sewn shut, turn right-side-out.


7. The last step is to attach the straps! I wanted to avoid the complication that comes with a buckle, so I thought a lengthy strap with plenty of room to tie a big bow would be fun. For this, I cut long pieces of fabric and ran the edges through my sewing machine to prevent too much fray. Once your straps are your desired length and fray-stopped, fold the tab’s ends into itself to make a clean line and then insert the end of one strap. Sew together. Repeat on the other side.

You're done! Now fill your fanny pack with anything and everything that helps you feel prepared for necessary outings during this pandemic. I’ve been stashing my pack with sanitizing staples and dog treats!

Nicolette McManus is an environmental science graduate with a deep love for nature, baby cows, and textile crafts. Find her project on fashion from an ecological perspective @bassethoundrunning
